How To Remove K Tip Extensions: The Smoothest Removal Process
K tip extensions are an excellent choice for adding length, volume, and a natural finish to your hair. However, as much as they are a joy to wear, the time will come when you need to remove them. Learning how to remove K tip extensions safely is crucial to maintaining your natural hair’s health and strength. Whether you’re seeking professional advice or planning to remove them at home, this comprehensive guide covers everything you need to know. Let’s dive deeper!
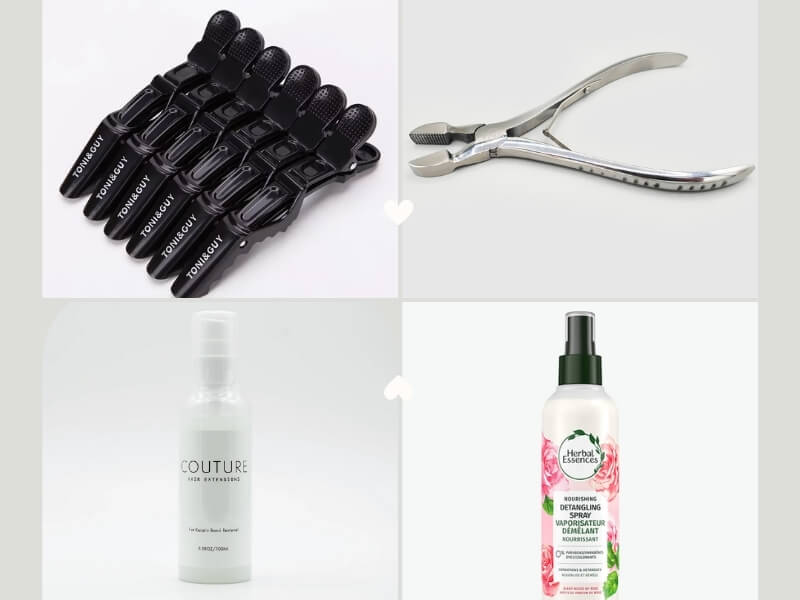
Prepare The Necessary Tools
To effectively and safely learn how to remove K Tip hair extensions, gather the following essentials:
- Combs and sectioning clips: These help organize your hair into manageable sections.
- Extension removal pliers: Essential for breaking down and loosening the keratin bonds.
- K tip remover: A specialized solution to dissolve the adhesive in K-Tip extensions.
- Detangling spray: Aids in gently removing any leftover residue or bonds while minimizing tangles.
Step-by-Step Guide: How To Remove K Tip Extensions
If you’re ready to grasp how to take out K tip extensions at home, follow these steps:
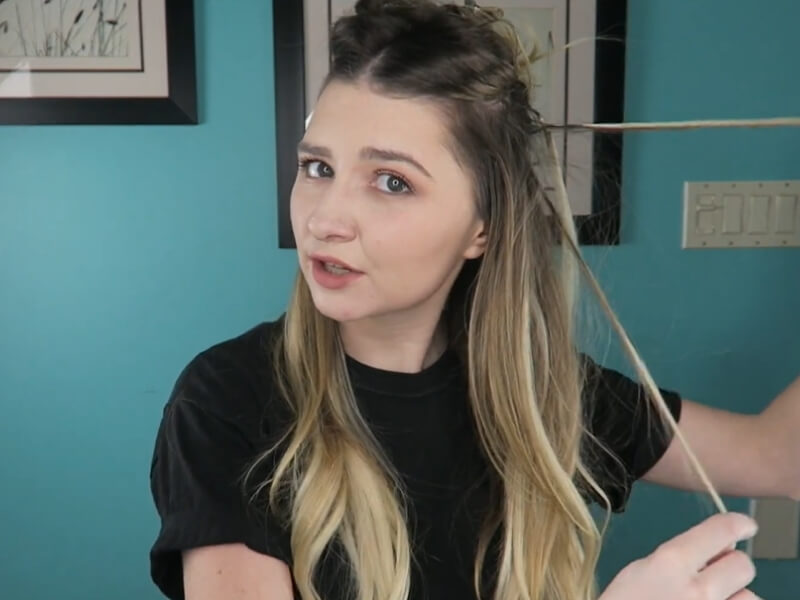
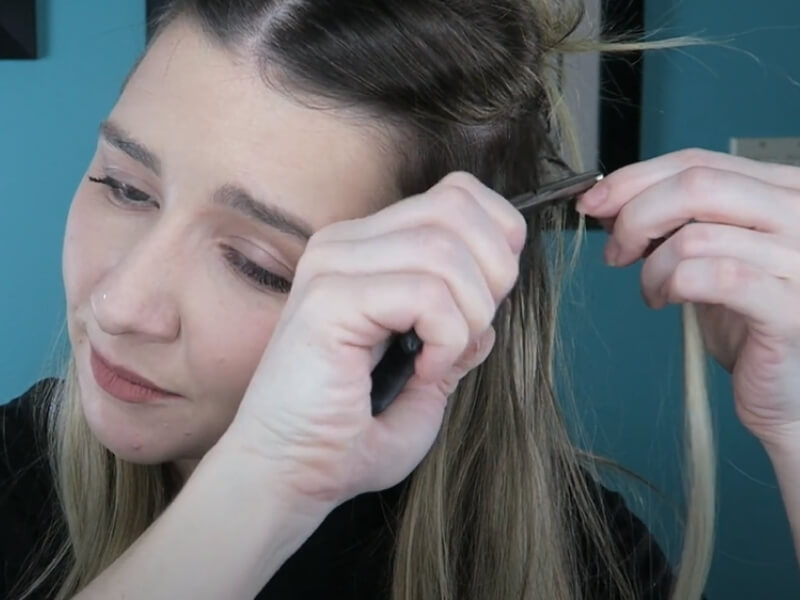
Step #1: Secure Your Hair With Large Clips
Start by sectioning your hair to make the removal process more manageable. Gather your hair into small sections and secure each one with large clips to keep them out of the way. This will allow you to focus on finding each keratin bond more effectively. Take your time to ensure you don’t miss any bonds.
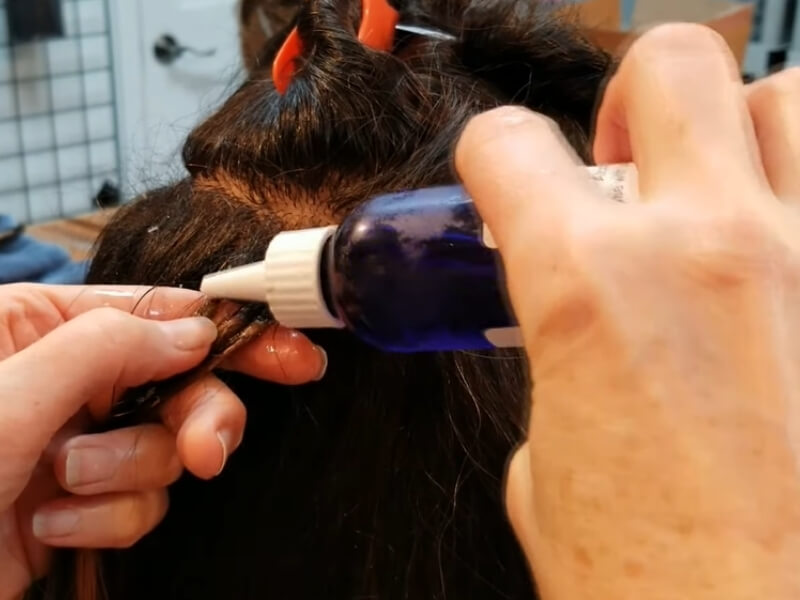
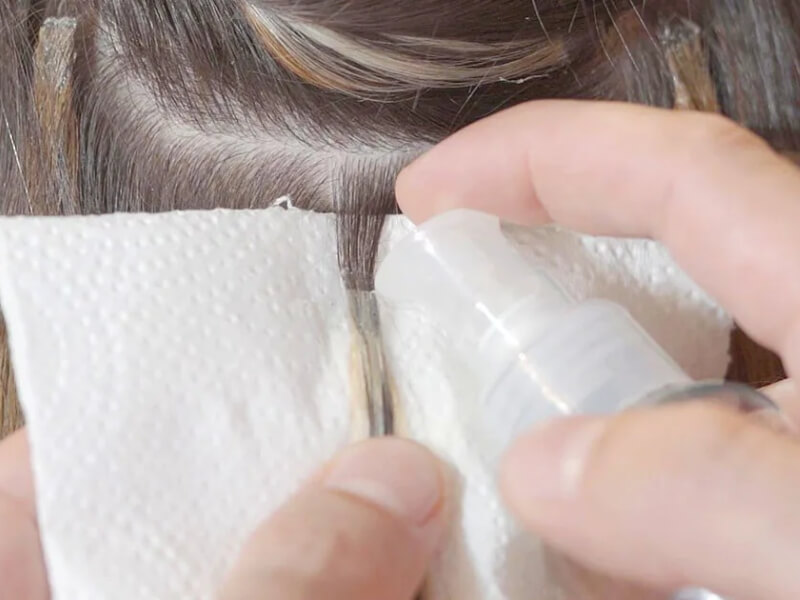
Step #2: Apply Keratin Remover To The Bonds
Once you secured your hair, take your keratin bond remover solution and apply a generous amount directly onto each of the keratin bonds. Focus on the row of extensions you are working with. The keratin remover will begin to break down the adhesive, softening the bonds.
It’s essential to apply enough remover to completely cover each bond, ensuring it penetrates the keratin and works effectively. Allow the remover to sit for a few minutes to fully break down the adhesive before moving on to the next step.
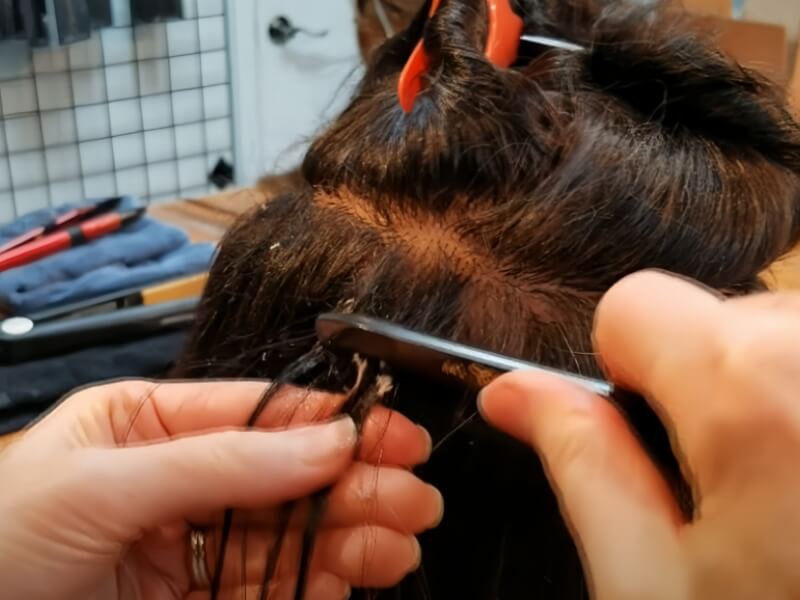
Step #3: Use Pliers To Crimp And Loosen The Bonds
After allowing the keratin remover to work its magic, it’s time to break down the bonds using pliers. Begin by isolating one keratin bond and carefully use needle-nose pliers to gently squeeze the bond. Apply enough pressure to crack the bond.
Repeat the process of applying remover and gently squeezing the bond until it becomes crumbly and soft. You should be able to break the bond down completely, allowing you to easily slide the extension out. Be gentle throughout this step to avoid pulling on the natural hair and causing any damage. The goal is to make the bond weak enough to remove the extension with minimal effort.
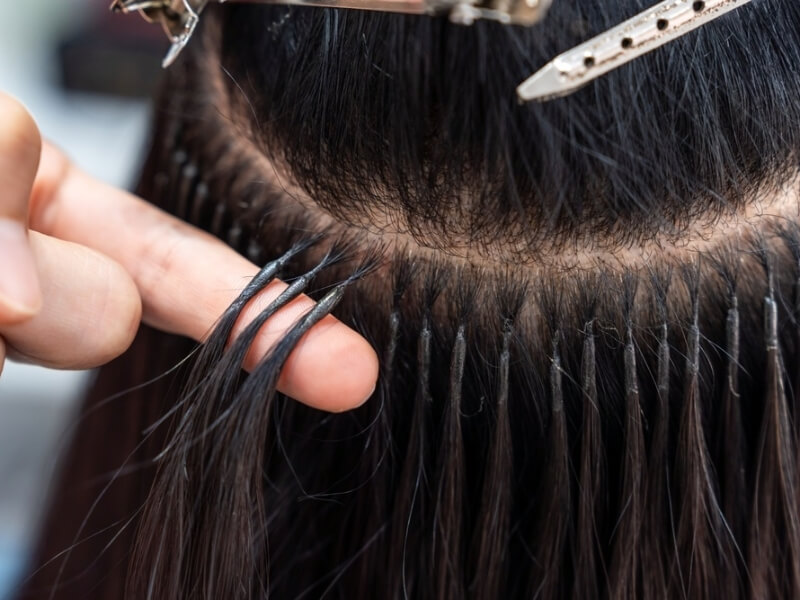
Step #4: Separate Your Natural Hair From The Bond
It’s important to be mindful of your natural hair when you learn how to remove K Tip extensions. Make sure that you’re not inadvertently pulling the natural hair with it. To prevent this, hold the base of the roots and your scalp with one hand, creating a firm grip to protect the natural hair. With your other hand, lightly pull the bond to slide the extension off. Never yank or pull forcefully on the extensions.
If you encounter resistance, reapply a small amount of keratin remover and use the pliers to further break down the stubborn bond before attempting again. Take your time during this step to ensure all extensions come out smoothly without damaging your natural hair.
Step #5: Comb Through To Remove Any Leftover Bonds
Once you’ve removed all the extensions, there may still be small remnants of the keratin bond left in your hair. Begin by spraying a detangling or leave-in conditioner spray to make the process smoother. Use a fine-tooth comb or a wide-tooth comb to gently work through the hair and dislodge any remaining bond residue.
Avoid using a brush as it may not be as effective. If any residue still remains, repeat this process until your natural hair is clean and free of any bond remnants. In cases of stubborn bonds, a metal brush can also help remove more persistent bits of keratin.
Step #6. Wash And Condition Your Hair
Finish the process by washing your hair with a deep-cleansing shampoo to remove any remaining residue. Follow up with a hydrating conditioner or a hair mask to restore moisture and elasticity.

Tips For Safe And Effective K Tip Extension Removal
After comprehending how to remove K Tip extensions, check out these additional tips for a smooth process:
- Use the right tools: Always invest in a high-quality K tip bond remover. Cheap or unsuitable products can damage your hair or make the process more difficult.
- Be patient: Rushing through the process can result in hair breakage or damage. Take your time to work through each bond carefully.
- Hydrate and nourish your hair: After removal, focus on repairing your hair with moisturizing treatments or oils to maintain its health.
- Don’t skip the remover solution: Never try to remove K tip extensions without a proper bond remover, as this can lead to severe hair breakage.
- Never use excessive force: Tugging on the extensions can damage your hair and scalp. Always work gently.
- Remember post-removal care: After removing the extensions, your hair might feel dry or fragile. Skipping post-care treatments can exacerbate this issue.
FAQs About K Tip Extension Removal
Now you know how to remove K Tip hair extensions; check out more FAQs to get more knowledge:
Can I Take Out K Tip Extensions At Home?
Yes, but there is a short difference between the DIY and salon methods. Opting for professional removal is always the safest option. Hair stylists are equipped with specialized tools and have the experience needed to break down the keratin bonds without causing damage to your natural hair. If you’re unable to visit a salon, you can remove the extensions yourself with the right tools and a little patience.
How Long Does It Take To Remove K Tip Extensions?
A professional stylist typically takes 1–2 hours to remove K-tip extensions. However, if you’re doing it yourself, the process may take longer, especially if you’re new to it or have a lot of extensions to remove. The time needed can vary based on your skill level and the method used.
What Should I Do After K Tip Removal?
After removing keratin tip extensions, focus on nourishing your hair with weekly deep conditioning. Apply oil or serum to mid-lengths and ends for added shine and protection. Limit heat styling to once a week, always using a heat protectant. Allow a few weeks for your hair and scalp to recover before reapplying extensions to maintain healthy, strong hair.
Conclusion
Learning how to remove K Tip extensions doesn’t have to be a daunting task. Whether you’re opting for professional help or trying a DIY approach, following the proper techniques and using the best tools will ensure a safe and damage-free process. Remember to take your time, hydrate your hair, and enjoy the satisfaction of a well-done K tip extension removal. Looking for premium K Tip hair extensions?
T&A Hair has you covered! As the leading Vietnamese hair factory, we offer 100% human hair extensions known for our exceptional quality and unbeatable factory-direct prices. Browse through our wide selection of types, textures, lengths, and colors to suit every style and preference. Take advantage of our exclusive offers, contact us today at +84 375 209 268!


